Use Shim Trim to Improve Your DIY Camper Results
If you’re building your own tent camper or cargo trailer and you plan to trim it out, here’s something to keep in mind as you make your plans and start your cuts. Using shim trim will help you significantly improve your DIY camper results.
After making about a dozen adjustment cuts to the entry door and lid panels on my first couple of builds, I finally realized that I needed to consider, at the beginning, how much space would be occupied by the finish trim at the end. Doing that would save me a hell of a lot of work.

For example, I like using a door that fits flush with its opening because, when it’s closed, it adds strength to the box and helps the long side panels maintain their shape over time. When I used this design the first time, the width of the side was 48”. I subtracted two thicknesses of 0.75” to account for the width of the side panels, which meant that my door would be 46.5”.
Fine, except I forgot that all of the outside edges would be finished with 1/8” u-channel trim that I use to hold the tent canvas in place. Adding 1/8” to each of the four finished edges that would make contact meant that the finished width of the door would actually be 46”.

Except that still didn’t fit. Why? Well, the actual trim width was 1” with an inside channel of 7/8”. Each of the side panels to be fitted with an edge were also carpeted, which meant that the extra space inside the channel would need to be accounted for.
Doing the math for a third time, I had two pieces of trim occupying a 0.25” width and two pieces of trim taking up 0.125” for an overall width of 0.75”. It appeared that the door should actually be 46.25” wide.
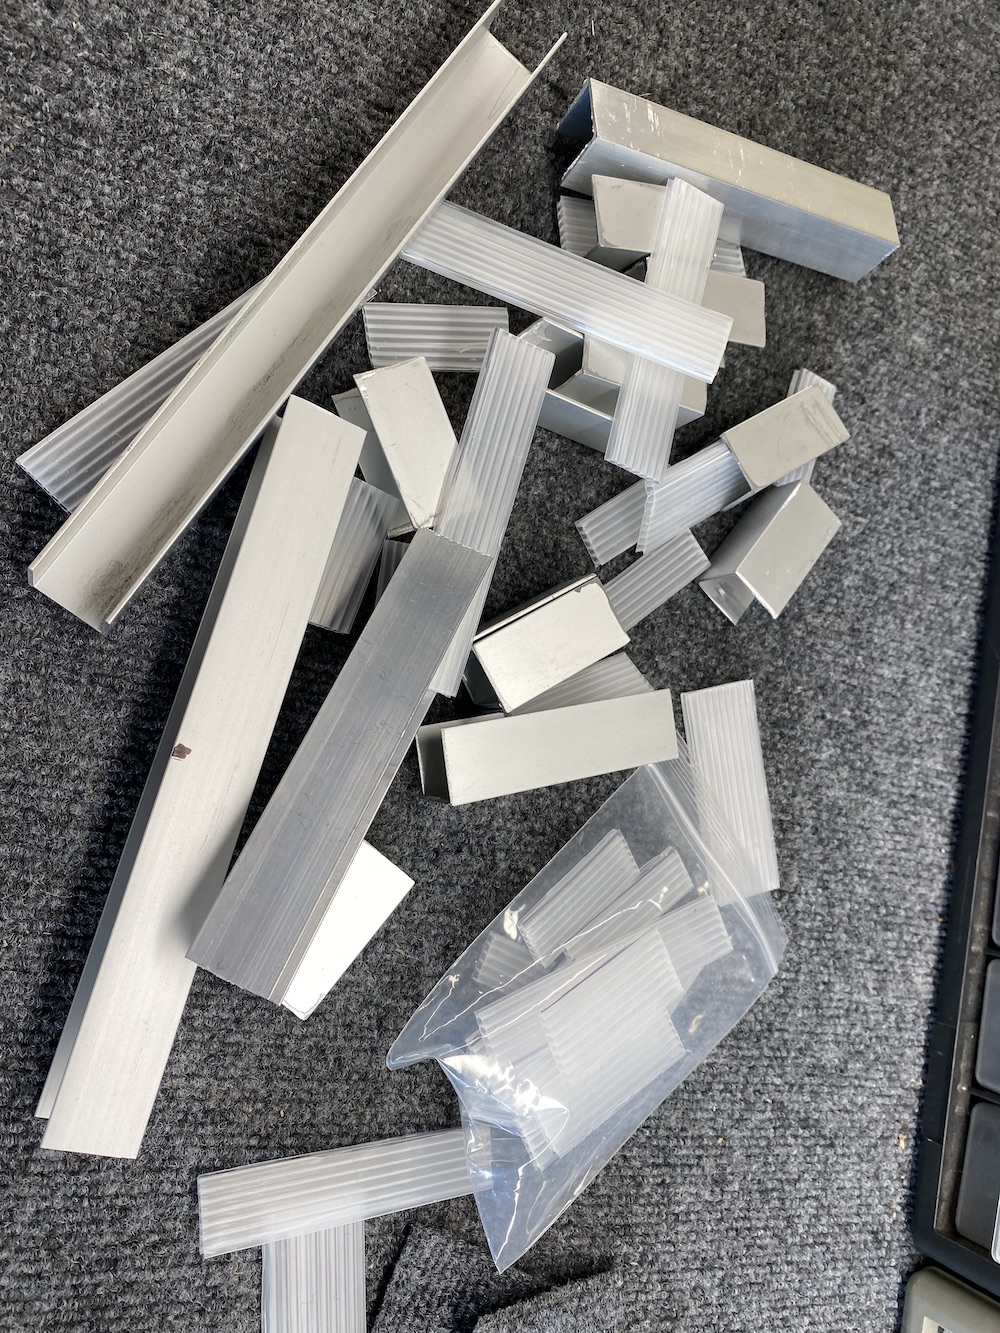
If that all sounds confusing, take a look at the pic below. When I install “shim trim” I use small pieces of corrugated plastic to simulate how the trim would be spaced once the carpet is installed. So for both pieces of trim, the plastic is to the inside where the carpet will be once that’s installed.

Using trim like this is also essential for mounting any panel with a hinge that needs to be centered in the opening. In that case, I put the trim at the bottom near the hinge which insures that the hinge is exactly centered on the opening.
It’s also important to use shims for the lid, another hinge application. The first time I installed a camper lid, I laid it on the box and screwed down the hinge, very satisfied with my work. Later, when I went to install the trim and gasket, I realized I hadn’t left any gap between the lid and the box. Shit. So all those holes I’d put in the side of the box to install the hinge weren’t where they needed to be.
Lucky for you, I learned that lesson the hard way, and now I pass it along to you to profit from. Shim trim will improve your DIY camper project, spare you a lot of frustration and save a lot of wood filler!
Questions?
For more information about this camper you can contact me through this page.
My business is selling motorcycle campers and trailers and the gear you need to tow them with a motorcycle or trike. I run two sites: Open Road Outfitters and US Hitch.